Supplied hardware
| Plate Mount Hardware:Eight 2.5″ x 7/16 grade 8 bolts
Eight 7/16 lock nuts Sixteen 7/16 flat washer |
– | Jack Mount Hardware:Four 1″x7/16 grade 8 bolts
Eight 7/16 flat washers Four 7/16 lock nuts |
We recommend professional shop installation. If you are an amateur or DIY’er, please be proficient and confident in your abilities before drilling holes in your bed.
If you are doing this at home, please make sure to have a helper. It takes two people to tighten the bolts.
Please read instructions before starting installation.
Use the pictures on this page for reference for fitment.
Start off by placing the Delta tire cage in the bed, in your desired position.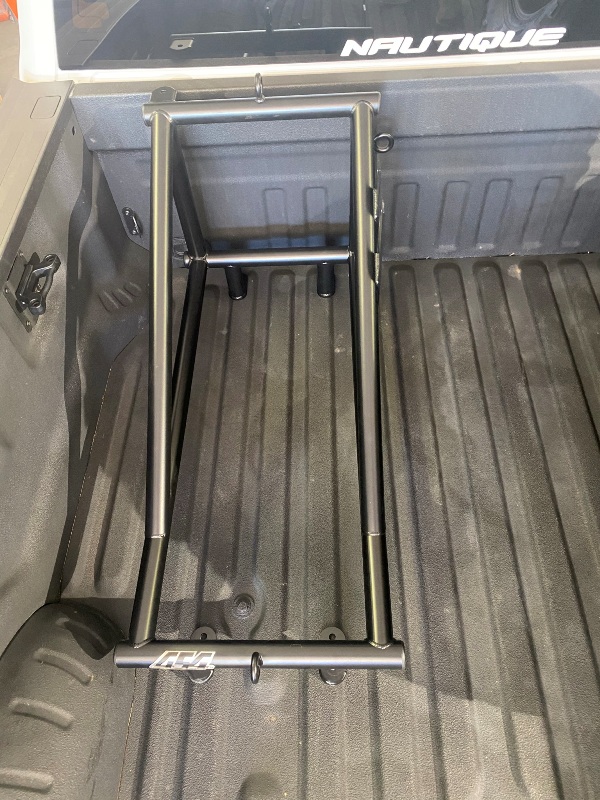
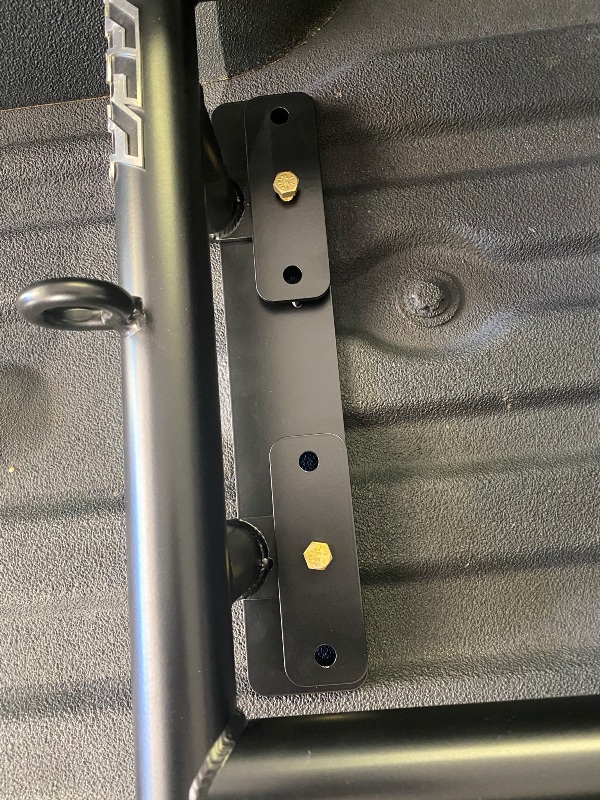
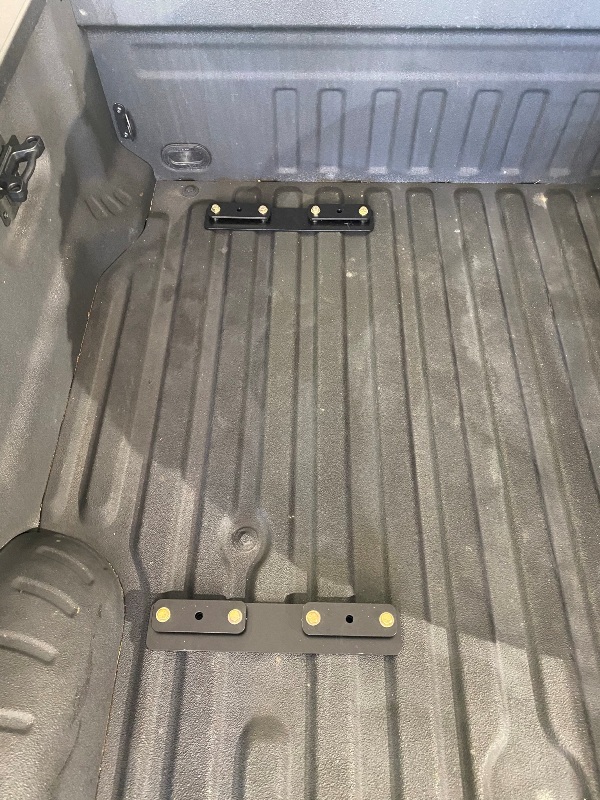
Slide the bed plates over the feet on the cage(as pictured below). Use 7/16 bolts to align the holes of the bed plates with the feet in the cage(the jack. This will also help hold the bed plates in place while marking to drill. These bolts are only used as an alignment tool.
 |
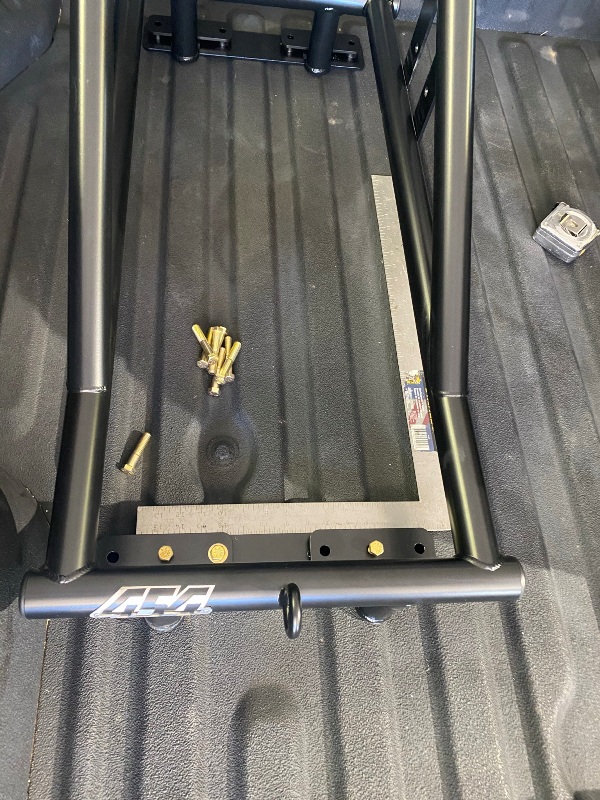
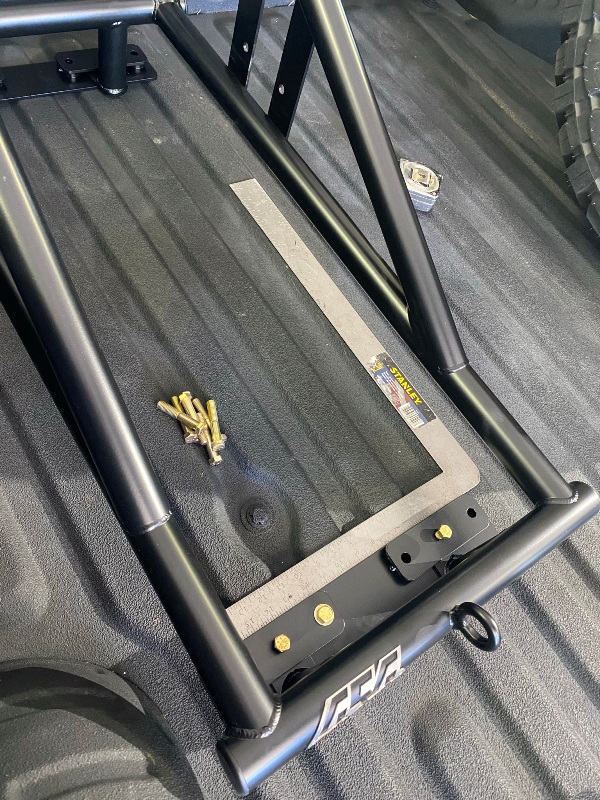
Once you have the bed plates in place, take a measurement from the front of the bed to each plate respectively. You will use this measurement to verify clearance under the bed for the bottom plates. Make sure the bottom plates(the plates that go under the bed) will be able to mount properly and not hit any crossmembers or obstructions. If the bottom plate needs to be moved in one way or another, make sure to move the cage accordingly.
Once you have verified the bottom plates placement, you can set the upper plates in place and mark the holes for drilling.
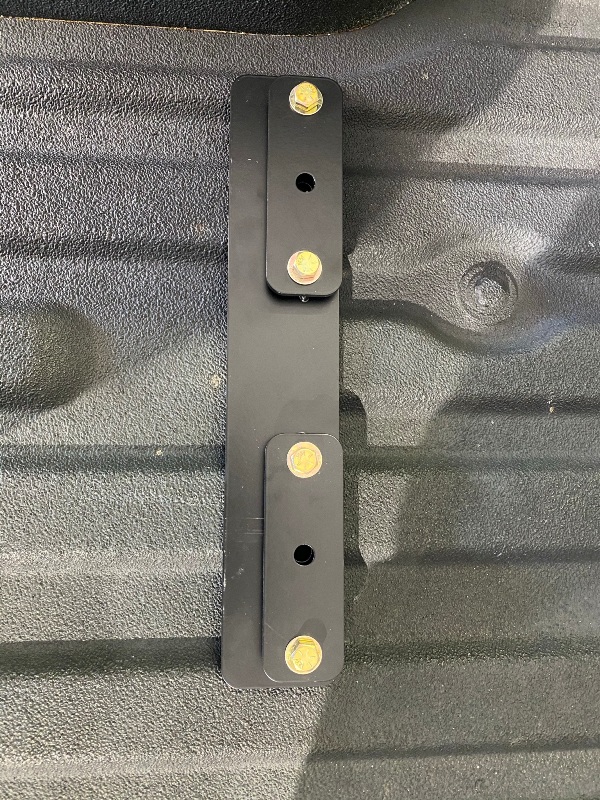
After you have found placement of the plates, be careful to center the plates on the humps, and use a square to make sure they are straight(see pic). Drill holes in bed using a 1/2″ drill bit. The supplied hardware is 7/16, so this gives a lil room to align the plates perfectly before tightening, and may also help with stubborn bed liner material.
 |
 |
*It is common to have the cage spaced back from the cab, because of lower plate clearance with crossmembers and so on. This gap between the tire cage and the cab is great for traction board storage.
Once you’ve drilled all the bolt holes, you can then drill the pin hole using the center hole of the plate as a guide.
 |
 |
Install all the lower plates. Use the supplied washers and lock nuts. This is the hard part, you’ll need a second person.
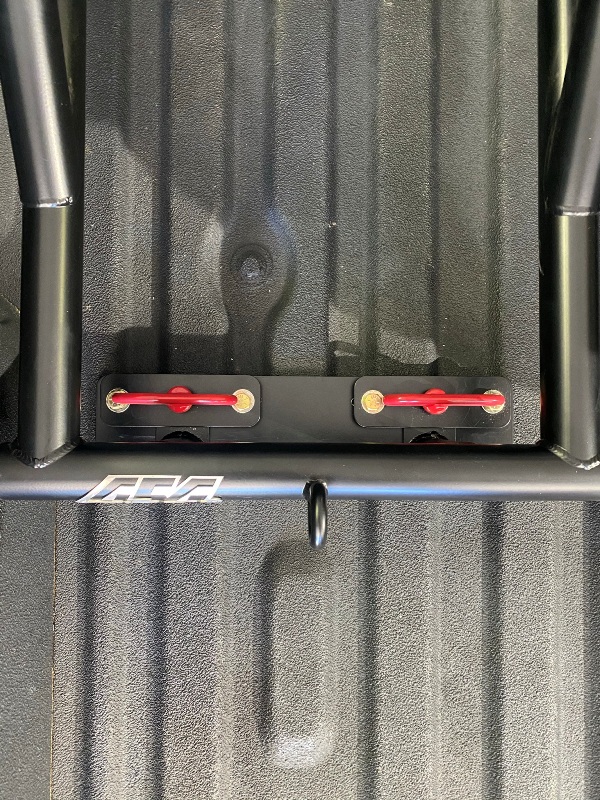
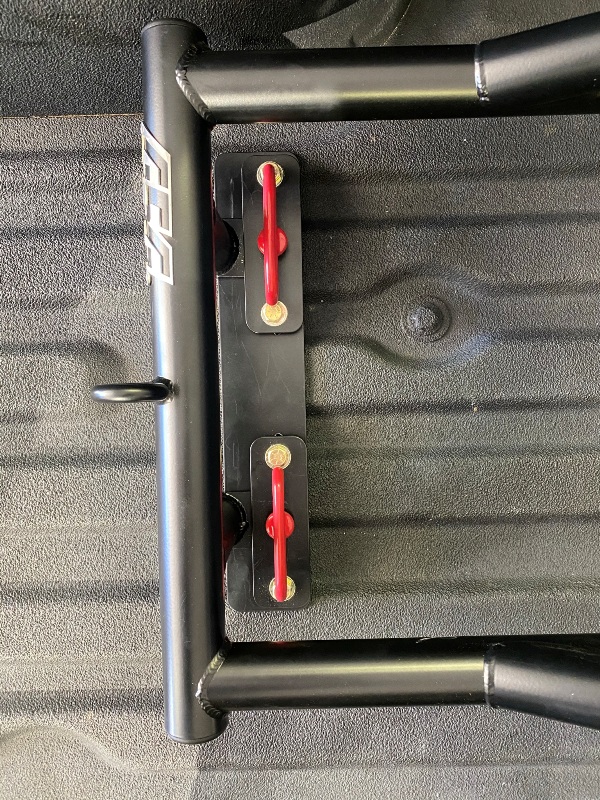
Before you tighten the bolts, slide the red pins in, through top plates, bed and lower plates. This will ensure proper alignment.
Tighten all hardware just enough to notice the hump in the bed to start to squish. Its important to make sure the threads of the bolts have engaged in to the nylon of the lock nuts. You don’t want to overtighten as it will smash the humps of the bed.
Its a good idea to slide the tire cage feet in to position, and push the pins through the center plate holes, to make sure it lines up before tightening everything down. This will also help align everything.
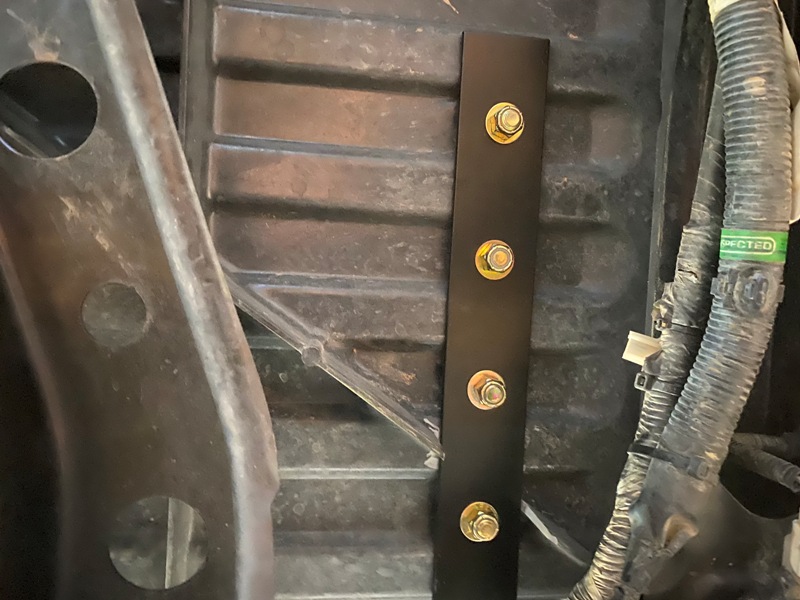
Here’s a picture example of a bottom plate under the bed.
Once all the bolts are tight, you’re done with the plate installation.
 |
 |
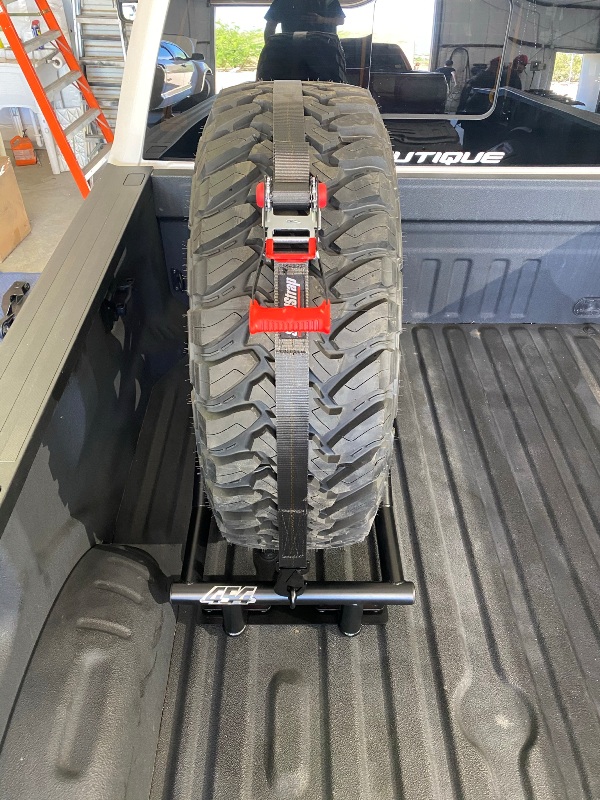
The pull pins will not come out when you have tires installed. The tires hold them in place. That is how most people run it. If you want to drive around, especially offroad, without tires in the cage, then it is a good idea to install cotter pins in the push pins.
 |
 |
Notes:
By design, once you’ve tightened the tie downs, they push the tires down to the bed floor and lift up on the tire cage. This causes everything to go in bind, which keeps it all tight with no rattles.
When off-roading, its always a good idea to walk around your truck and check your suspension periodically, take a look and check the tire cage too. Make sure the straps are tight!
Have fun!